I recently watched a phenomenal video by Trent at Miscast about creating a wizard's tower, and it kicked my hobby motivation back in to gear. Trent was creating his tower for a Mordheim diorama, and I needed something similar for my Frostgrave board. Trent also used a few techniques that I had never seen before. In the past, I have built entire structures out of cut out foam blocks. This would take days of measuring and cutting, and while it looked pretty good, always had a bit of a janky final look to it. Trent made a plaster cast of stone texture and just glued it to the rough wall of his tower. Ta-da! brick texture without individually created bricks. I didn't have molding materials on hand, but I thought I could go back to the well of my favourite hobby material, craft foam sheets.
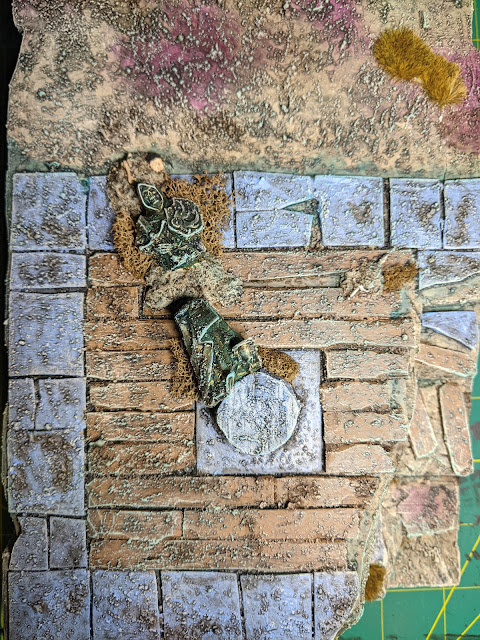
In this post I will show you the finished builds of both the tower and the base that it sits on, as well as the construction process for both. I will also show you the platform fully painted and detailed. Next time, I will post fancy pictures of the whole thing assembled and on the table.
The Build
The platform is just a rectangular chunk of 2" foam that I battered a little bit, and cut out rough stairs from. The tower is several chunks of 2" foam glued and stacked. I shaped it with a large hobby knife to make it roughly the shape I wanted. It's not too smooth, because I wanted to preserve a bit of the angular stone look. The little archway on the side did not make it into the final draft.
This is a chimney that I swiped from Trent's video. An old paintbrush, broken, and redirected with some green stuff, and also some 'metal strapping'.
As mentioned, I used my craft foam to make a stone pattern on the tower. I used mod podge to held glue it to the tower, as the rough angles made it hard for the built in adhesive to function. Also, I used some gap filler and sanded it down, which also prevent the stickiness.
Another theft from Trent, a lovely little windowed alcove, complete with shingles and terrible supports.
I have done shingling with foam before, but I thought I would change up the texture a bit and try something new. I chopped up a beer box and started gluing. This was all super rough, and I went back in later and jammed some more shingles up into the recesses and empty spaces until it looked full. It took like 5 days because I would just do one row at a time and let it dry before doing the next.
On top, I originally wanted a pointed peak, but couldn't think of a clever way to make one. Then I though, a weather-vane would be cool. I realized I didn't really have the bits I needed to make one at the right scale, but I did have a pointy little skaven buddy, so I fastened it to a cap and glued it on top. I made a little ring of greenstuff to look like more metal strapping. I also added some of this strapping and a few Empire shield bits to the alcove for character.
For the primer, I didn't just use paint. This is a mixture of dark grey paint, modpodge (thick white craft adhesive), and sand. I wanted to primer, texture, and protect, all in a single coat. It worked quite well, although I would suggest only using very fine sand, as larger chunks will still come free. Although, there will be many more layers of paint on top to protect the texture.
Fully primed, and with some additional grey primer to highlight the stones.
Thank you so much for reading!
Andrew


Comments
Post a Comment